Automate invoicing by adding Auto Invoicing rules.
With this new feature, businesses can set up their invoicing system to automatically generate and send invoices to clients based on the appointments scheduled in their calendar. This means that businesses no longer have to take steps to create and send invoices for each appointment in the calendar, saving them valuable time and effort.
For frequently asked questions, please see the end of the article.
To start, either go to Invoices > Smart Invoice > Auto invoice
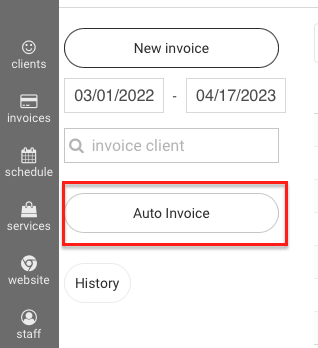
or you could also go to Invoices > Payment Settings > Auto Invoicing.
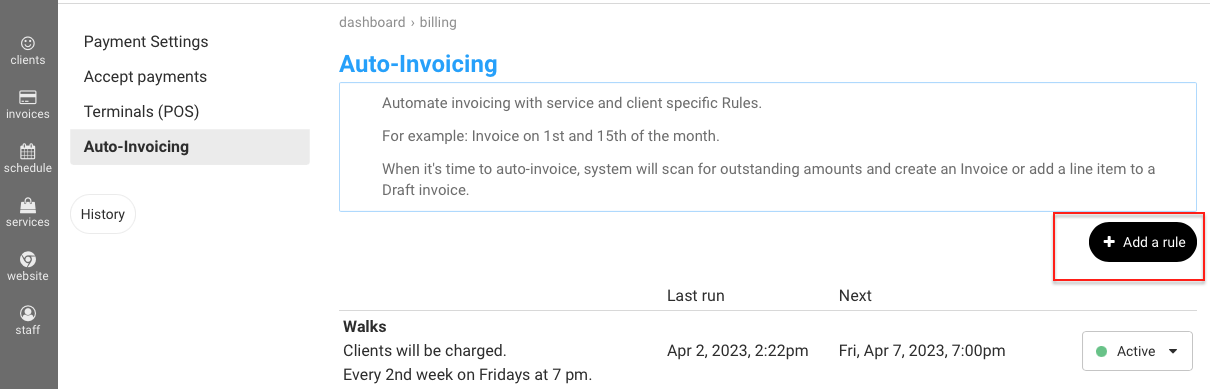
Click on 'Add a rule' to add an auto-invoicing rule.
You can now set the frequency - weekly, every other week, monthly, etc.
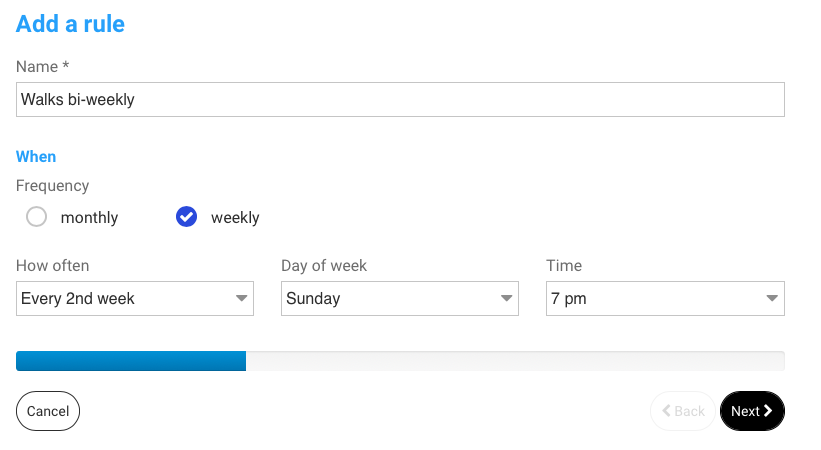
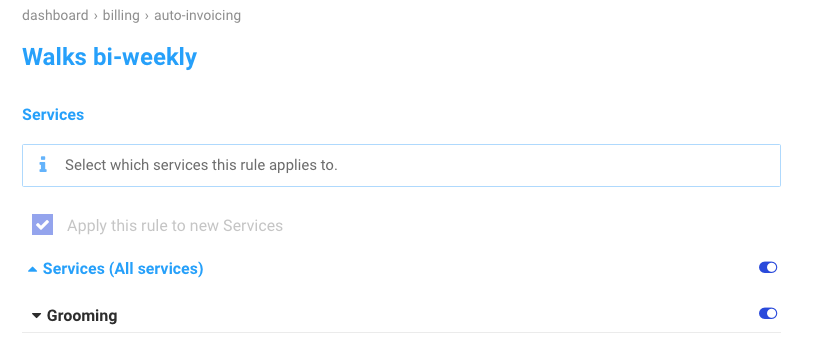
Click Next to choose which Services this rule applies to
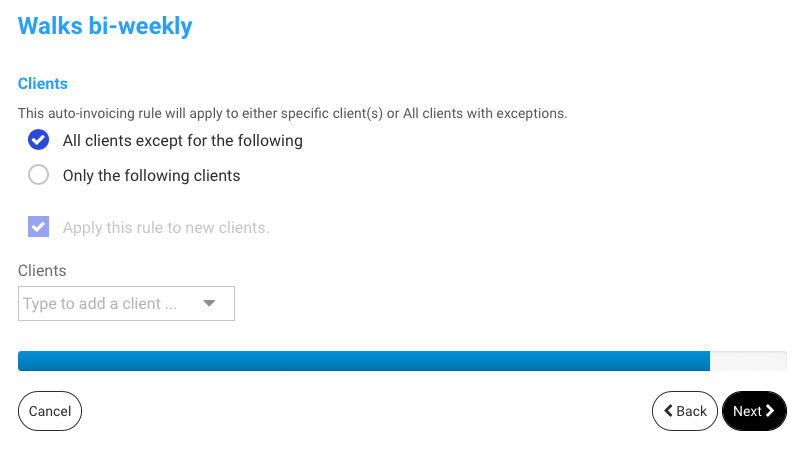
Next you have the option to apply this rule to:
1. All clients, including new clients who sign up. You can Exclude specific clients by searching for them under 'Clients'.
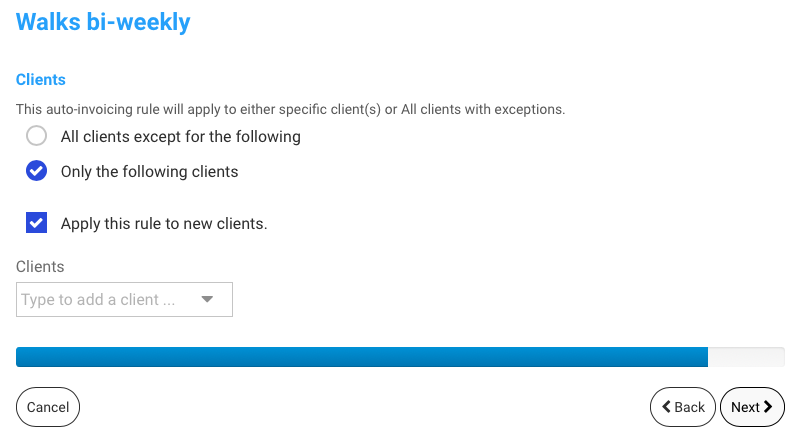
2. Specific clients only. You can choose whether to automatically add new Clients to this rule or not.
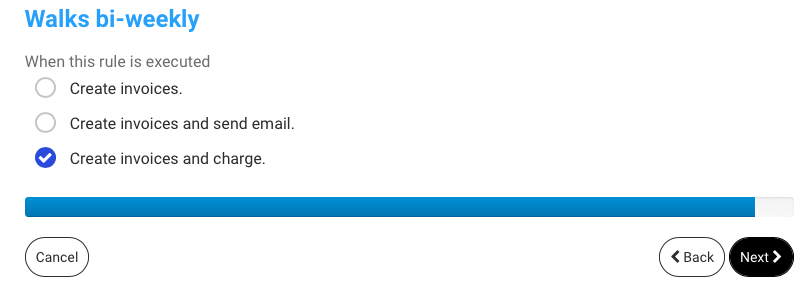
Next, select the Action. You have 3 options:
1. create Invoices.
2. Create and send the Invoice to client.
3. Create invoices and charge the default payment method (credit card) on file.
Go to Invoices > Smart Invoices > Auto Invoice to see the list of rules you created

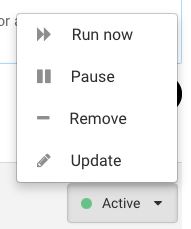
Click the rule drop-down to see what options you have.
You can Pause a rule, which means it will not be scheduled to run.
You can also 'Run now', which means the rule will be run right away.
To view the history of what happened go to Invoices > Smart Invoices > Auto Invoice and click on 'History'
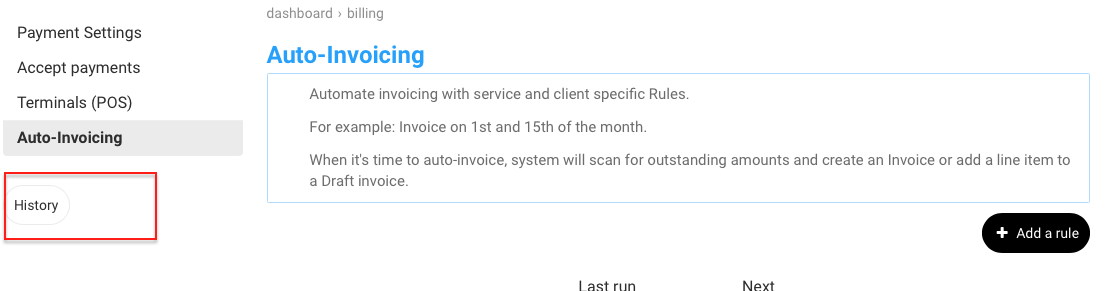
History section will list all automated Invoicing, including scheduled Rules as well as clicking on Smart Invoicing.
Frequently Asked Questions
Do we need to create the invoice for the clients and just let the system do the rest?
Answer: No, the system creates the invoices as well. It is totally automated.
If we don't create the invoice how do we know for sure that the price for the pet service is correct?
Answer: A few spot checks would help quench any accuracy concerns. Pick a few bills in the history once auto-generated, and review what was composed.
If we do need to add an additional charge, i.e. extra brushing or nail trim and can't use the add item button, how do we do that?
Answer: Ideally, update the appointment itself, and add any extra add-on services or ad-hoc fees that may apply over there. The billing process would then scan / pick-up this additional detail from the appointment.
What do we do about clients who want to tip?
Answer: There are two scenarios: 1. Clients can leave a tip even after a bill is paid. The option is in the automatically generated invoices they also see in their pet owner portal. Ensure you've enabled the tipping feature for paid invoices. 2. You can always issue a bill of items/services before the automation kicks in.