
Before we proceed, it is essential that you have already added at least one new website page. Only logged in managers or staff (with the appropriate permissions) can edit a website page.
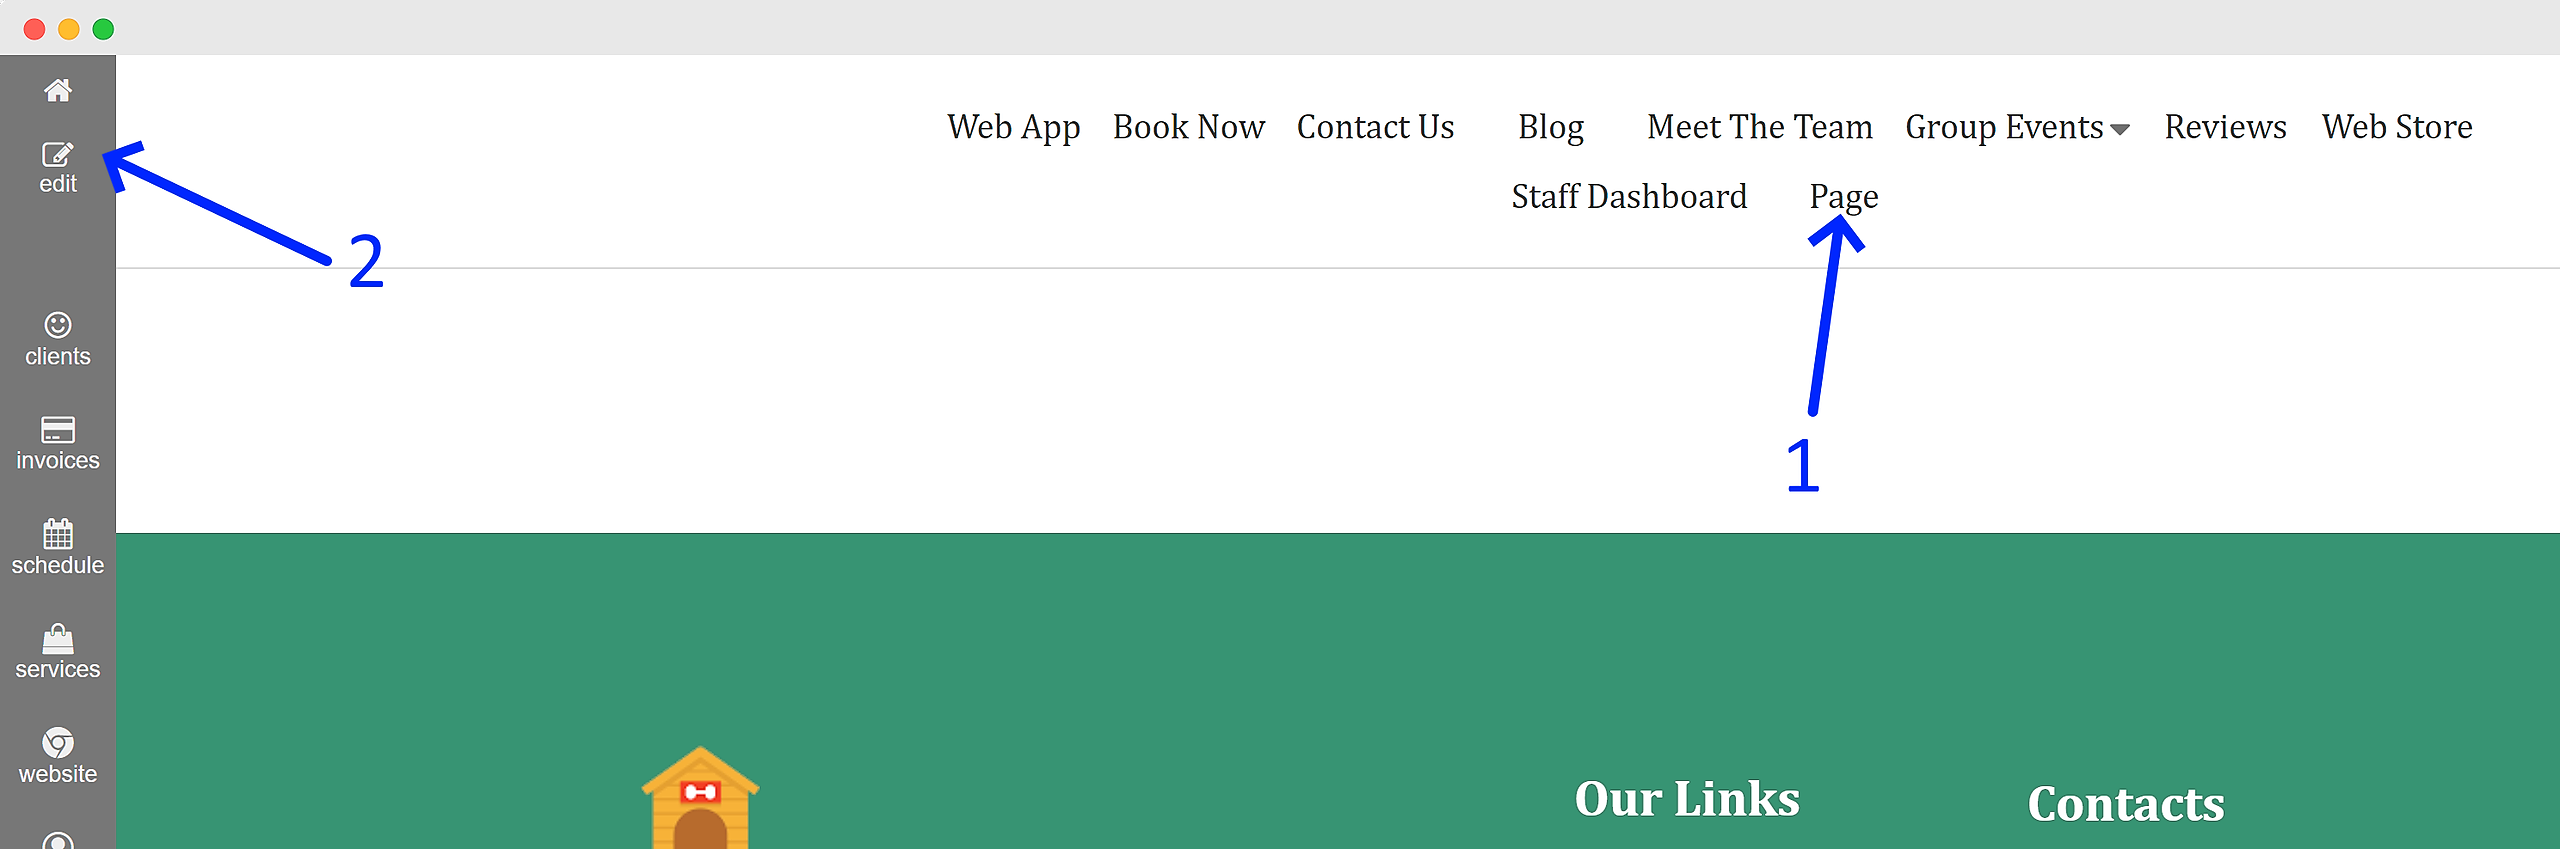
For the sake of this article, let's refer to the website page as "Page," as shown in the example below:
-
First, go to the page on your website that needs editing. You can also access the specific "Page" by navigating to Website > Webpages.
-
Next, simply click on the "edit" button to enter the editing mode for the website page "Page". This will allow you to make any desired changes to the page.

-
In edit mode, you can identify it by the left operational widget turning yellow and displaying relevant options, which are explained in detail in the article on adding a new page.
-
Header: The website header, typically positioned at the top of a webpage, serves as the primary section where the navigation menu is commonly located.
-
Body: The website body encompasses the main content and elements of a webpage, such as text, images, videos, forms, and interactive widgets.
-
Footer: Located at the bottom of a webpage, the website footer is where you can usually find additional information, navigation links, copyright notices, and contact details.
Important note: Any changes made to the header or footer on one page will be automatically applied to all other pages of your website for consistency and convenience, so you don't have to repeat the changes on each individual page.
Next, we recommend visiting the article that provides instructions on adding a block. This will guide you on how to insert the "blank canvas" called a block, which serves as a container for all your content, elements, and widgets.